
A paper moth can look incredibly realistic—it’s got fuzzy wings and a chonky body, so convincing that you might do a double take! Best of all? It won’t dive-bomb your lamps at night.
In this tutorial, I'll show you how to craft a 3D realistic moth, using the Madagascar comet moth as an example.
Step 1: Draw or Print the Moth Parts
You can find some reference pictures and sketch the moth parts yourself, or grab our digital templates featuring 15 of the most beautiful moths in the world. Simply print them, and you're ready to go!

Step 2: Cut Out the Body Parts
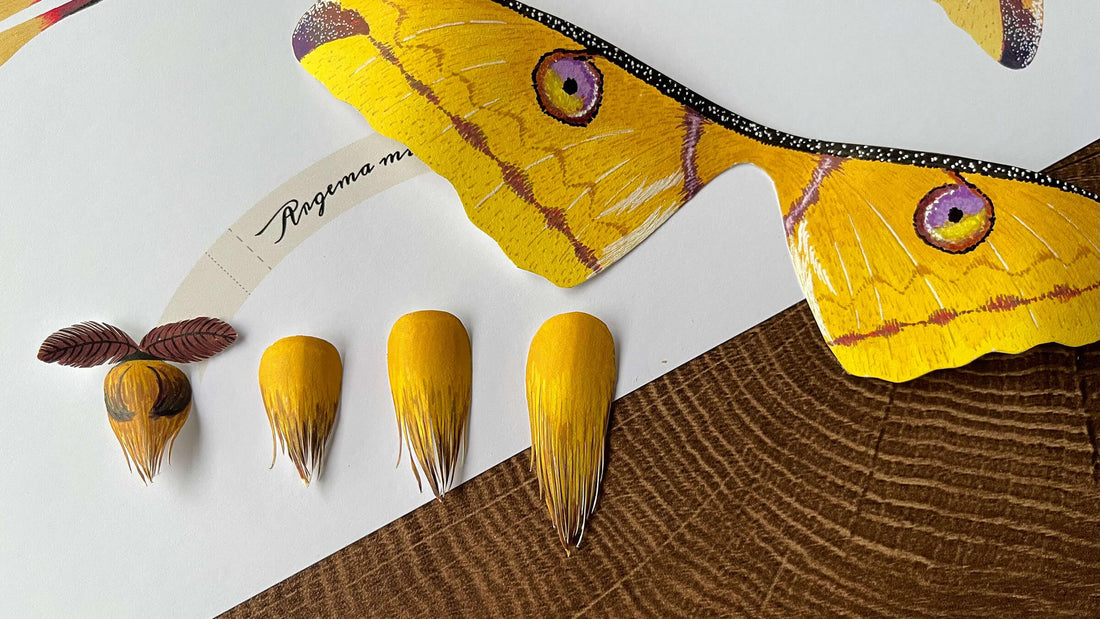
Carefully cut out all the pieces: forewings, hindwings, head, and multiple body parts.
Step 3: Cut Fringes
To give your moth a fuzzy look, cut small fringes on the head and body. A craft knife can help create fine, delicate details if you want extra precision.


Step 4: Create the Fuzz
For my original pieces, I used special long-fiber paper to mimic a moth’s natural fluff. But don’t worry if you don’t have that! You can use tissue paper, cotton, or any other fuzzy material you have on hand. Tear, shape, and attach it to the edges of the wings. If you want, you can also color the fuzz to match the wings.

Cotton tissue looks more like real fuzz. Here, I used wood pulp tissue, but if you have cotton tissue on hand, I highly recommend trying it!


Step 5: Curl for Dimension
Gently curl the antennae, head, body, and wings to add depth. A pen works perfectly for smooth, natural-looking curls. Be extra careful with the antennae if you've cut fringes!


Step 6: Make the Connector
Cut out a thin strip of paper, roll it, and glue the ends together to create a connector. This small but essential piece will give your moth structure and help make that adorable chonky body pop!


Step 7: Assemble Your Moth
Now for the fun part—gluing everything together! Carefully attach each piece and watch as your moth takes shape.


Step 8: Admire Your Work
Congratulations! You’ve just crafted a 3D realistic paper moth. Let it roam free on your wall, plants, art pieces, lamps, Christmas trees, and wreaths—you name it. You can also use them to craft moth bouquets, brooches, hair accessories, or unique gift toppers.
Happy crafting! 🦋✨


More Resources
📜 Get Paper Moth Digital Templates: Paper moth collection
📽️ Watch the Video Tutorial: Rosy Maple Moth Tutorial | ElkaYang
🦋 Learn Fun Facts About Moths: 15 Most Beautiful Moths in the World